
Why this matters to you
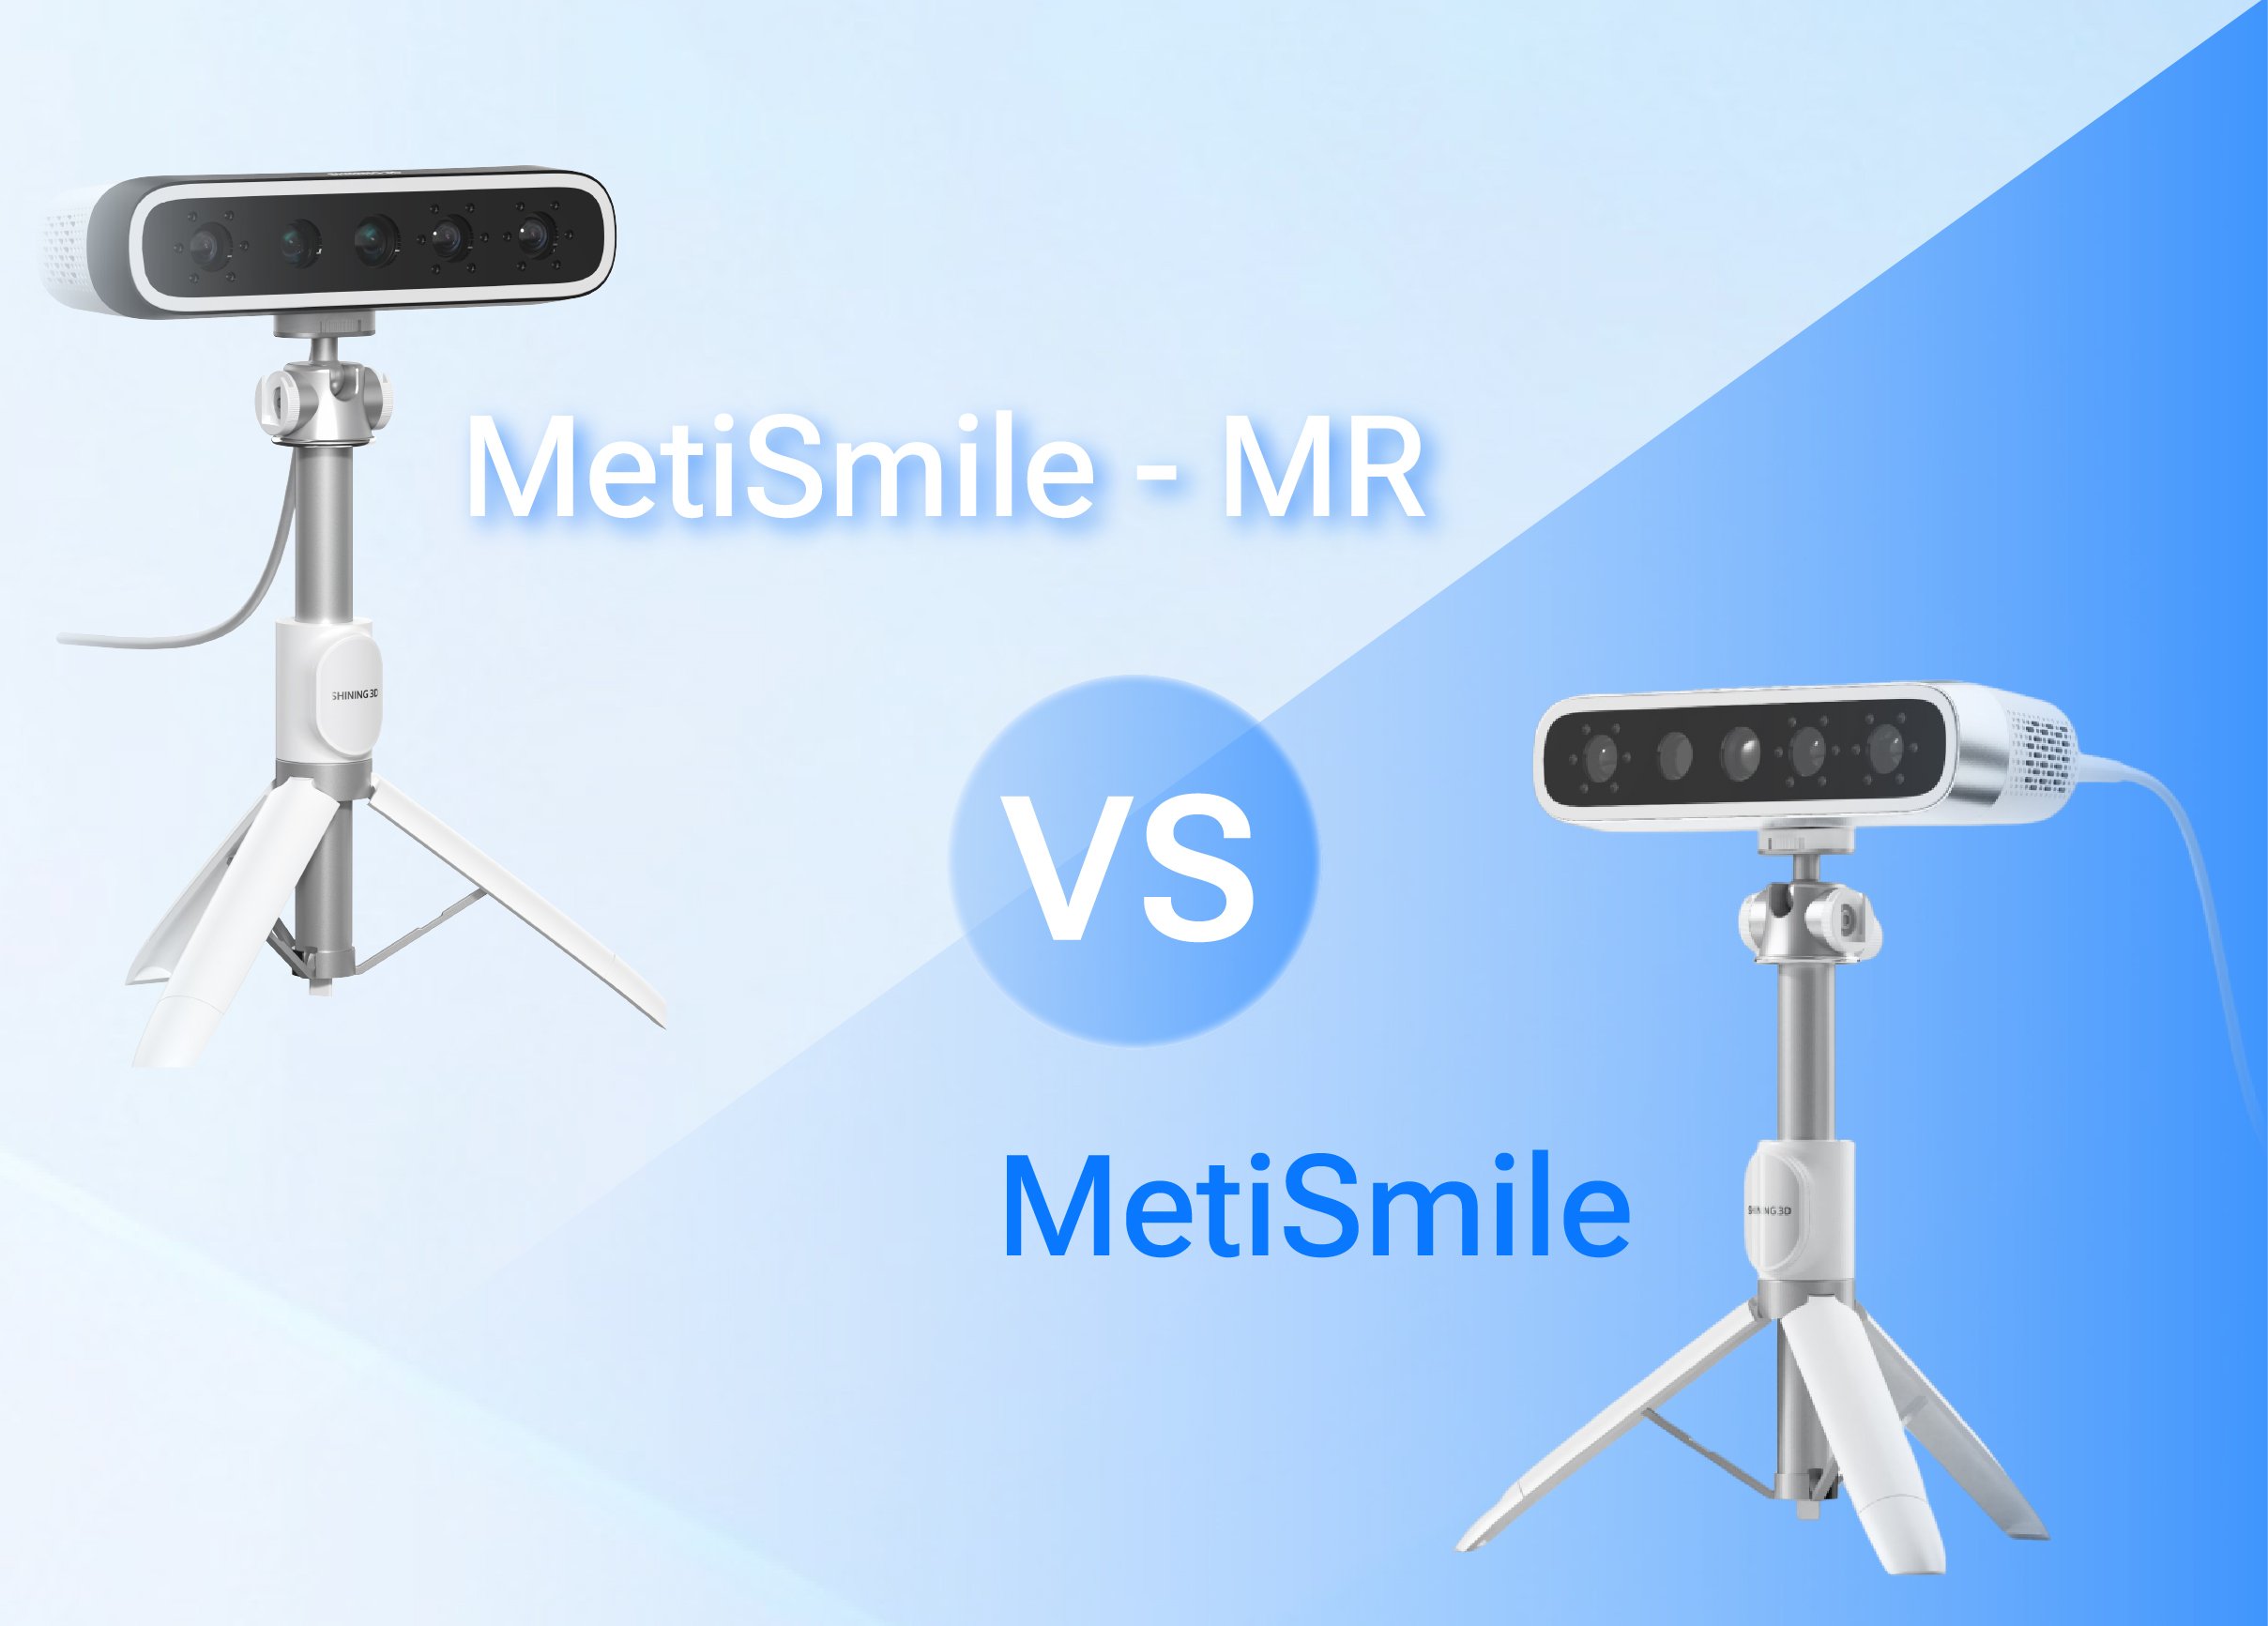
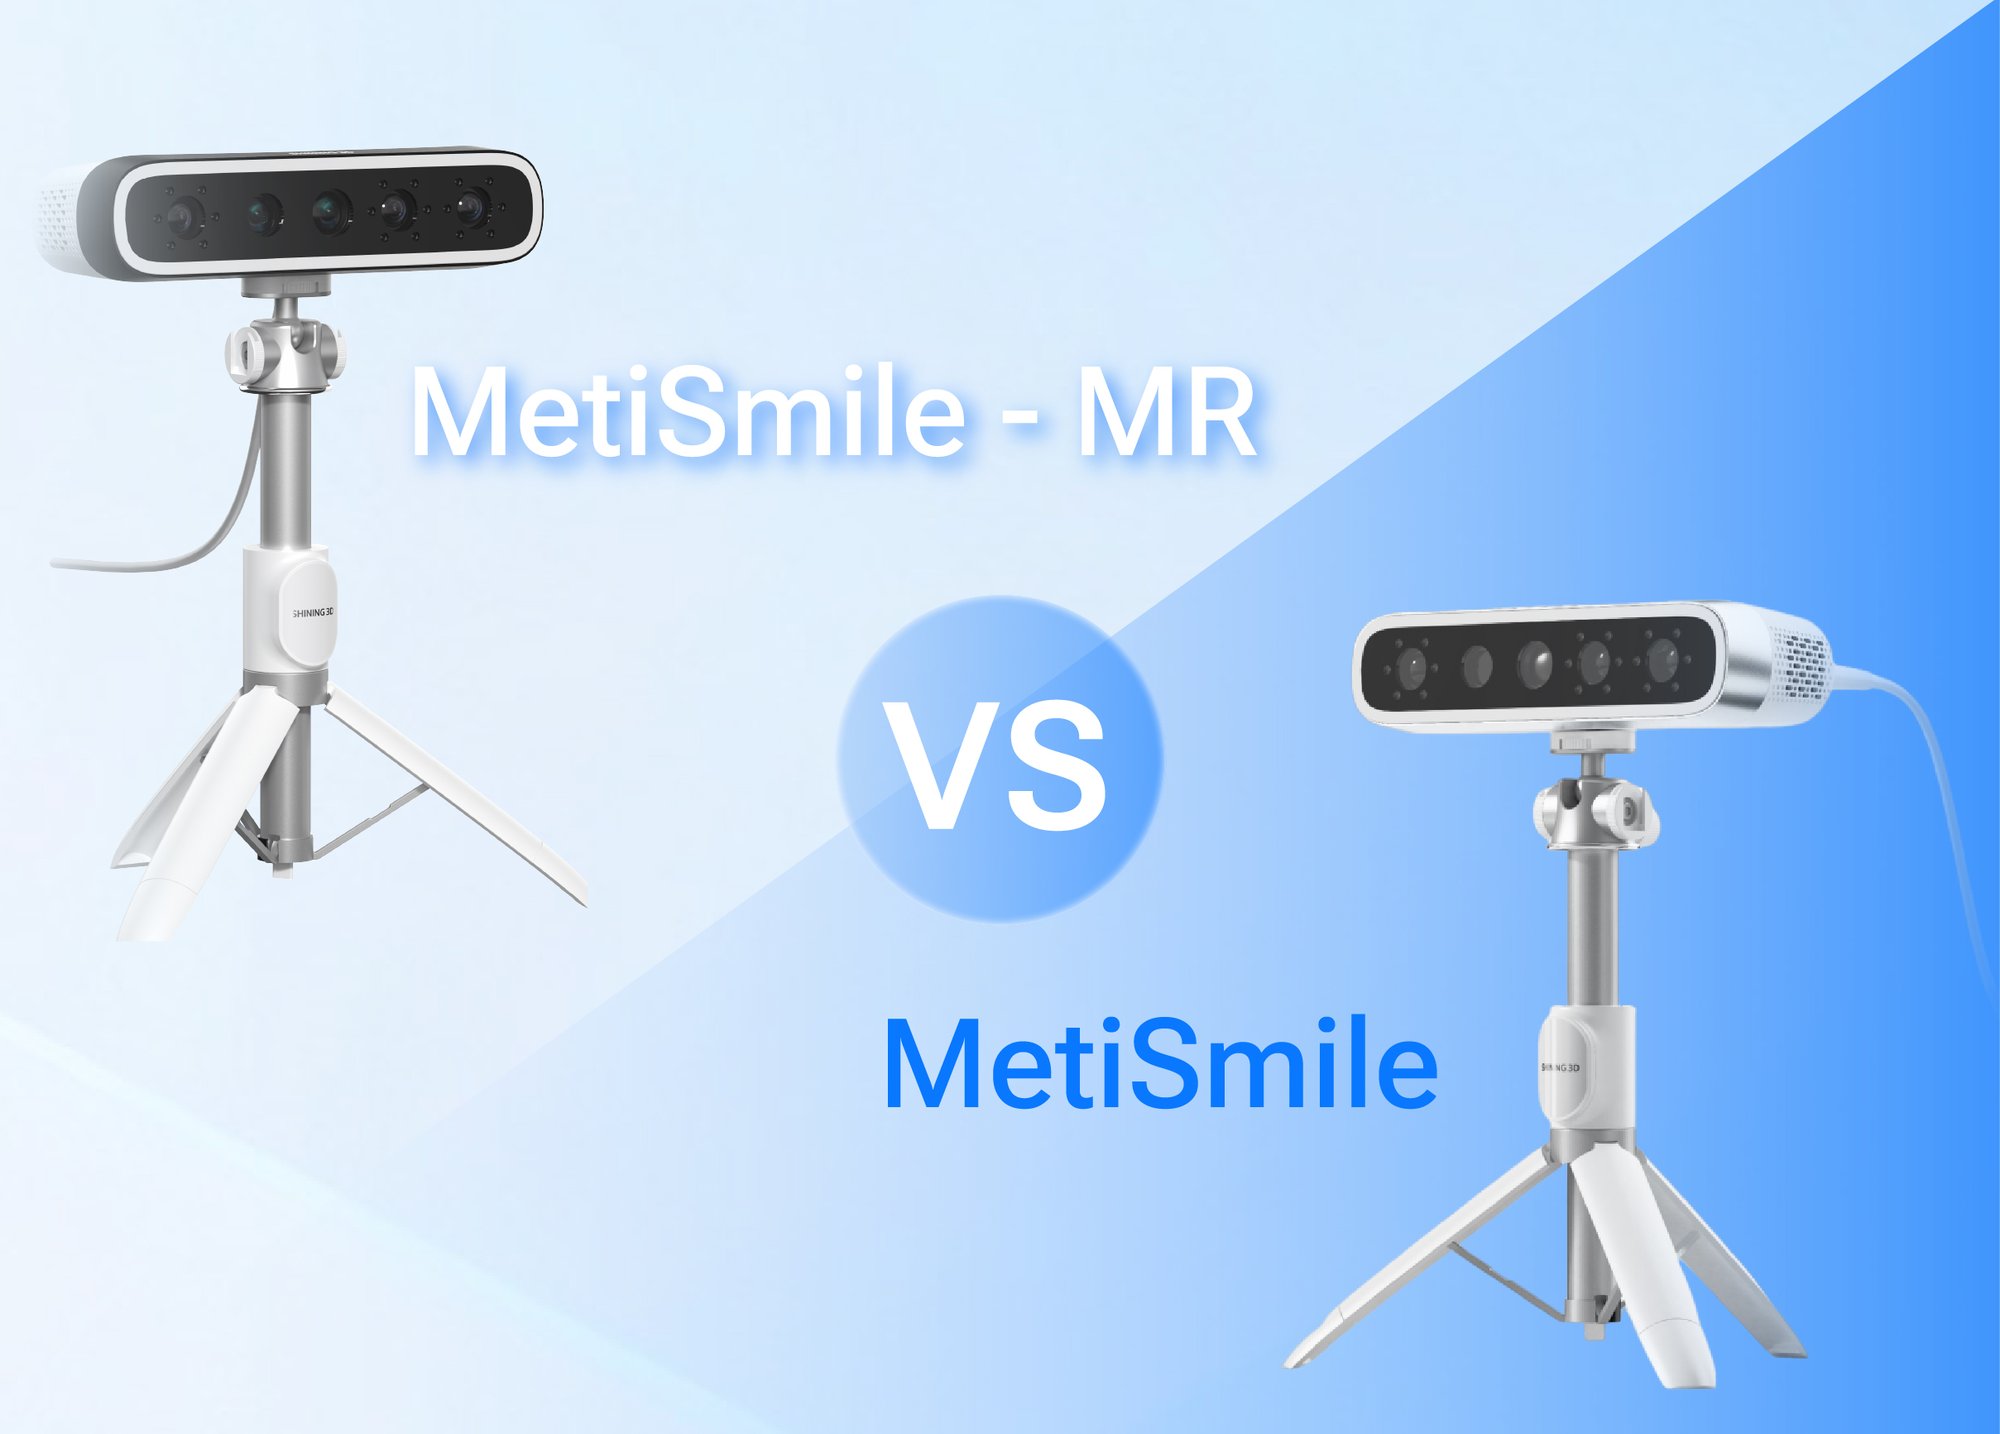
You’re the one who’ll use this machine day in and day out, so this guide’s built around the tasks you actually do. Think workflow, not theory — how the printer fits your room, how materials move, and how patient previews from a 3d face scanner land in the same workflow as your printed models. Clear priorities cut wasted hours and misprints.
Workstation and environment — real checks that save headaches
Pick a flat surface that won’t wobble when a tech walks by. Confirm dedicated power that won’t trip a breaker during a long print. Place the printer where ventilation can remove fumes without blowing dust into the vat. Keep room temperature within the manufacturer’s recommended range; fluctuations change resin cure behavior. Label a nearby cabinet for PPE and waste handling so anyone on shift can find it fast.
Unboxing and hardware inspection — what to look for
Open the crate with care. Verify the build plate, vat, UV shield, and power cord are present and undamaged. Inspect the FEP film or resin tank for scratches. Check cables and connectors for snug fits. Photograph serial numbers and the packing list; that helps if you need support. If a part looks off, don’t improvise — replace it before you power up.
Software, network, and user accounts — get credentials right
Install the printer’s slicer and firmware updates on a dedicated machine. Create calibrated user profiles tied to specific resins and layer heights. Secure the network access to the printer — use a lab account with permissions rather than a shared personal login. Store your baseline profiles and a copy off-site so a corrupted PC doesn’t kill a week’s worth of settings.
Calibration, leveling, and test prints — start simple and confirm
Leveling first. Use the manufacturer’s plate-check routine; don’t trust guesswork. Load a measured amount of resin. Run the supplied calibration print or a small standardized test object. Measure dimensions, check surface finish, and note adhesion to the build plate. Record the first-good-settings so you can reproduce them. If the test fails, adjust exposure in small steps rather than huge swings.
Post-processing and safety — handle cured and uncured resin right
Rinse prints in approved solvents and follow the recommended cure schedule. Wear gloves and eye protection. Dispose of waste following local hazardous-material rules; do not pour resin or solvent down a drain. Clean the vat and inspect the FEP after every few prints. Maintain a log of solvent changes and filter replacements so contamination doesn’t sneak up on you.
Quality checks and clinical verification — match function to form
Verify occlusion and fit on a physical die or a digital overlay before final delivery. Use magnification to check marginal integrity. Many cosmetic practices around Austin pair printed models with a smile simulator to preview esthetic outcomes on the patient and adjust the model accordingly. Keep acceptance criteria simple: dimensional tolerance, surface finish, and clinical fit.
Common pitfalls and how to fix them
Adhesion failures: clean and re-level the build plate; replace worn FEP film. Layer rings or banding: slow the print, increase exposure slightly, and inspect Z-axis stability. Resin contamination: empty and filter the tank, replace if clouded. Post-cure brittleness: shorten cure time or lower intensity. Don’t guess—change one variable at a time and document the result.
Training and handover — make knowledge stay on the team
Run a hands-on session with every operator; watch them perform a start-to-finish run and correct the small stuff. Create a one-page quick checklist taped to the machine: power, level, resin amount, file name, and PPE. Keep an incident log with timestamps and fixes so recurrent problems become patterns you can finally eliminate.
Why consistent commissioning wins
You want prints that work the first time and processes the whole team trusts. Follow the steps above, document your settings, and use the tools that tie digital planning to physical results — that’s what keeps patient appointments on time and lab rework low. The workflow and tooling from SHINING 3D DENTAL fit naturally into a clinic or lab that values repeatable, verifiable outcomes without fuss.