
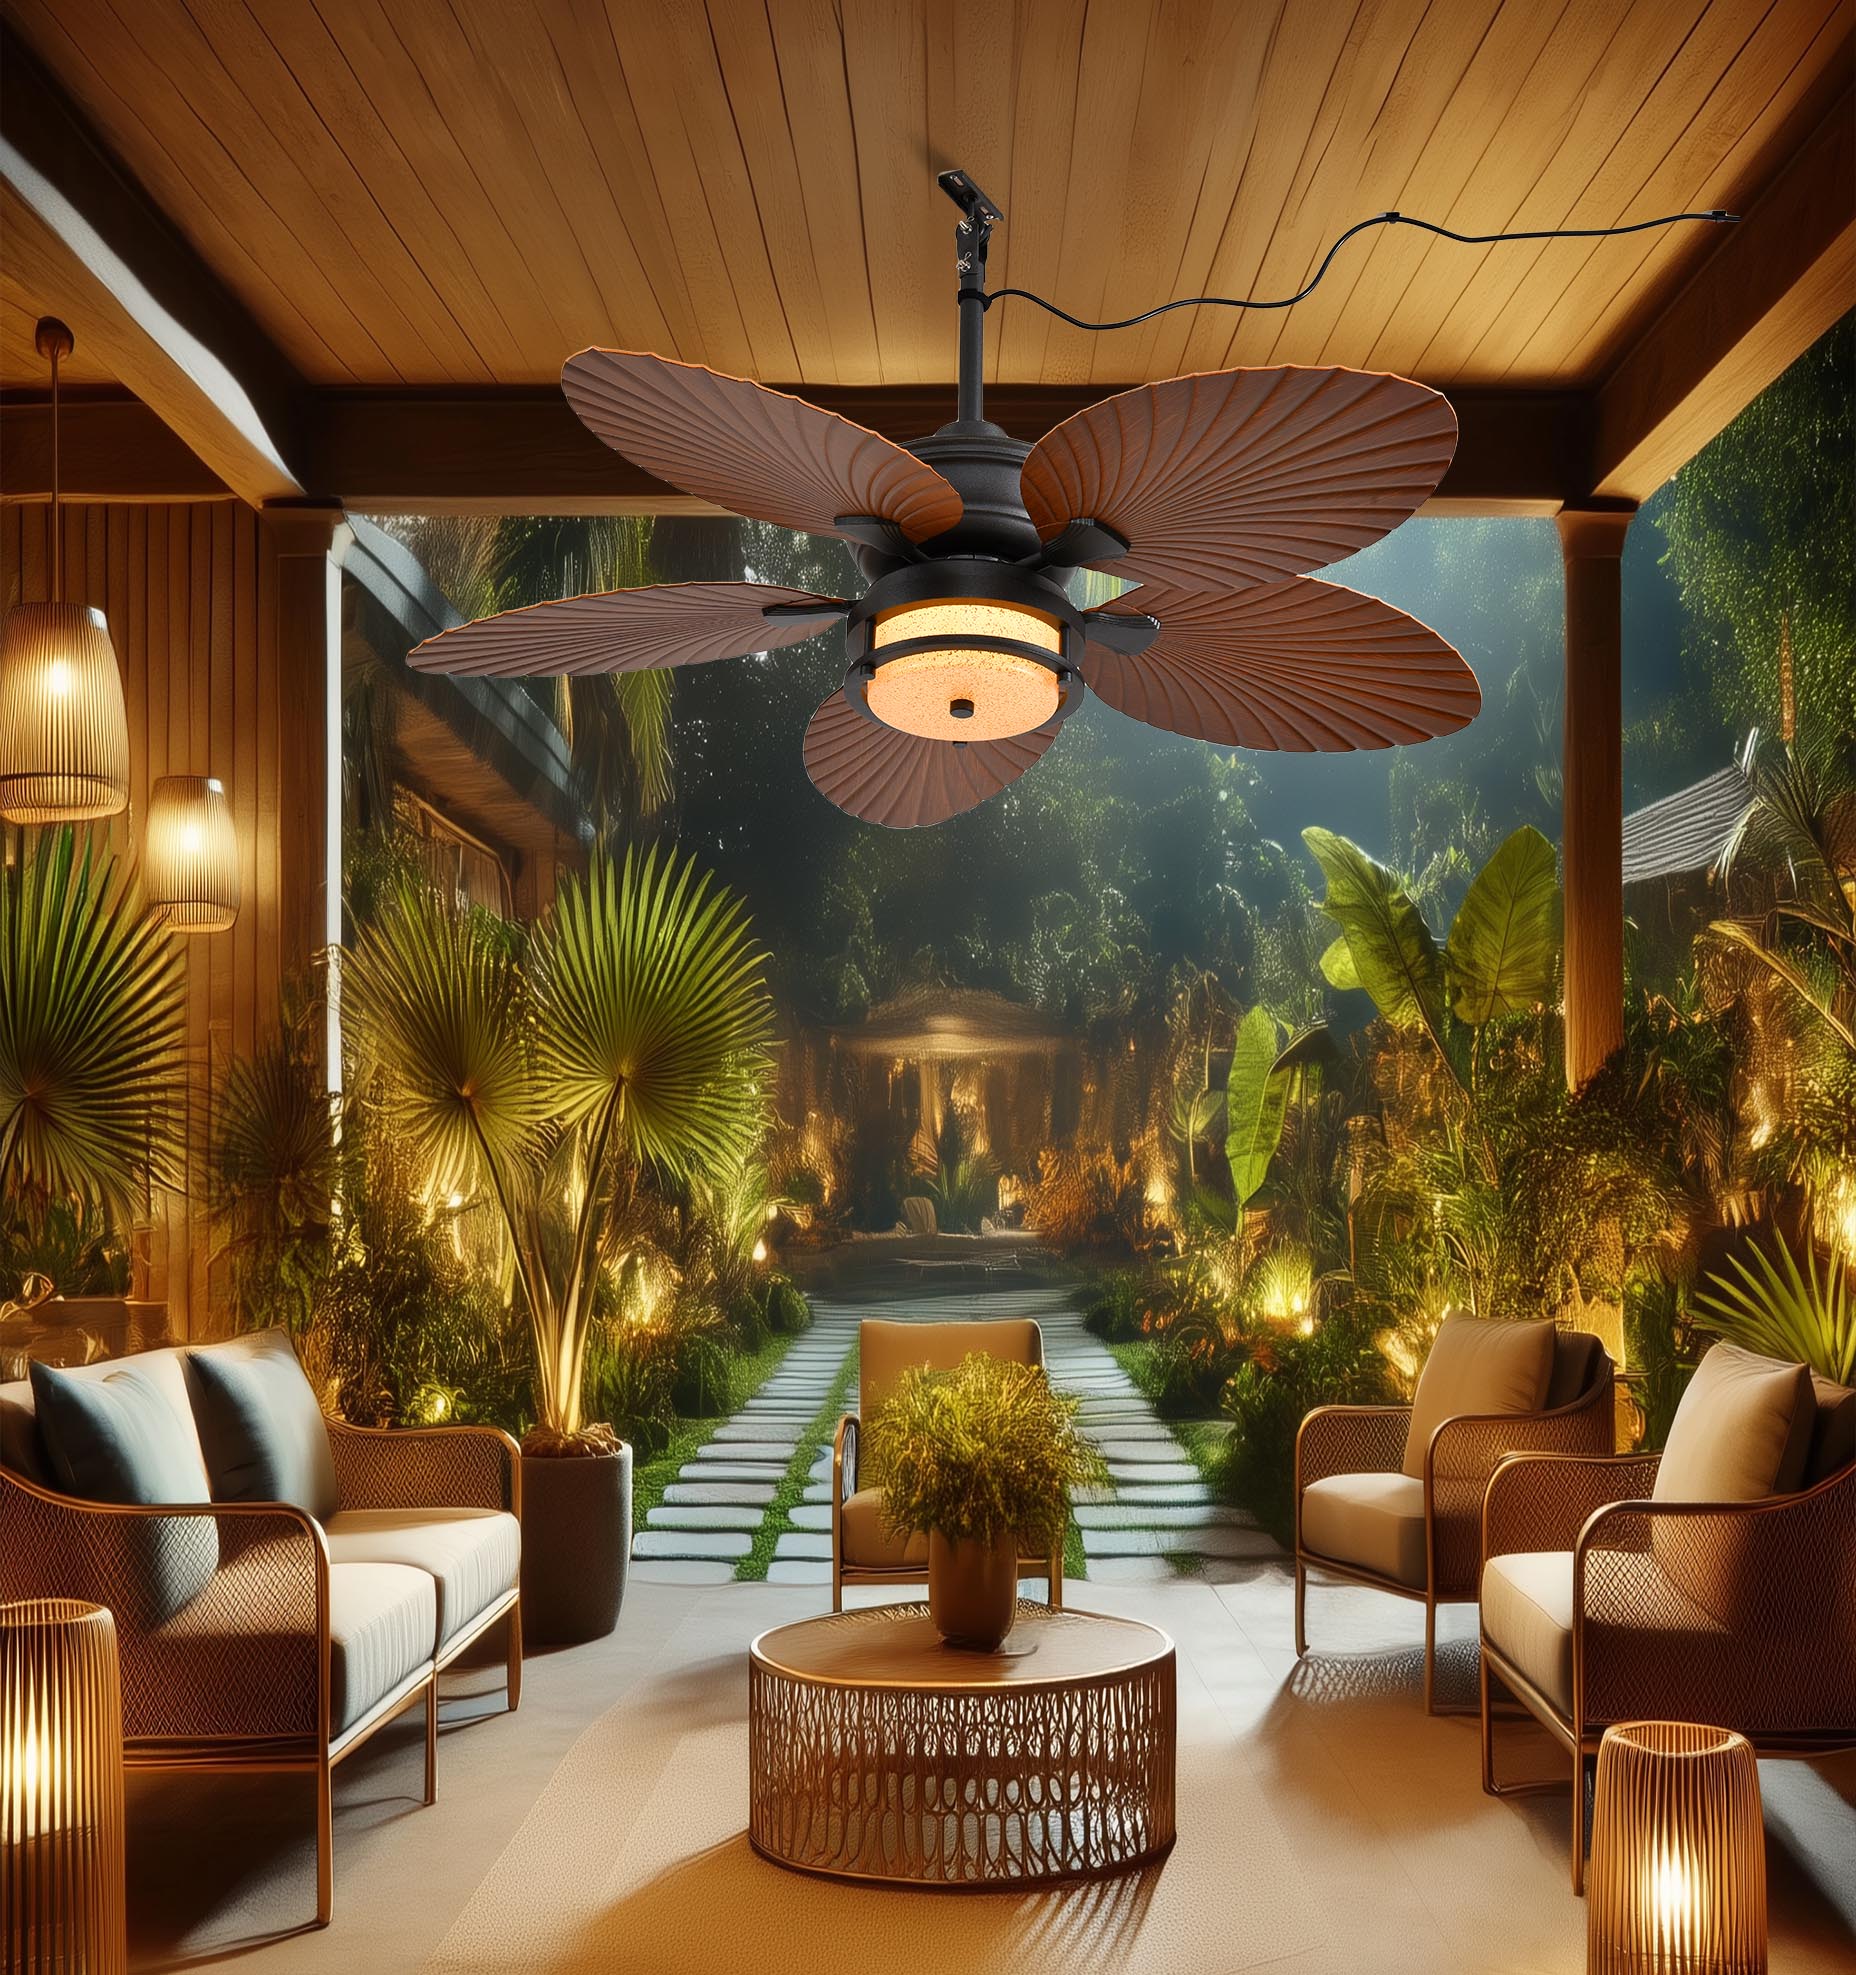
Framework overview: why a structured audit matters
Start with a clear framework: define use, measure baseline, set technical specs, and validate performance. A methodical audit prevents mismatched buys—cheap fans fail under humidity, overspecified units waste budget, and lighting can ruin ambience. If you’re shopping, begin by reviewing options like an outdoor ceiling fan with light to anchor your needs against real product capabilities.

Step 1 — define use cases and success metrics
List concrete scenarios: cooling during summer dinners, insect circulation near a grill, winter airflow for covered porches, or integrated lighting for task and mood. For each scenario attach a metric: target temperature drop, airflow in CFM, acceptable noise in sones, and desired lumen output for the light. Those metrics turn vague preferences into engineering requirements you can shop against.
Step 2 — measure the baseline
Collect simple data before you buy. Measure porch dimensions, roof/ceiling height, and available power (single-phase, circuit capacity). Observe prevailing wind and exposure; note if the area is fully open, screened, or under a solid roof. This affects choice of IP rating and motor cooling. Also review past usage—during the 2020 shift toward outdoor entertaining many homeowners added fixtures to extend living space; that trend is a real-world anchor showing demand for durable, multifunctional products.
Step 3 — translate needs into technical specs
Match metrics to product attributes. For airflow, pick fans rated for the square footage that list CFM at the intended mounting height. For durability, choose wet- or damp-rated units with an IP rating that suits exposure. Lighting specs should state lumen output and color temperature. Motor type matters: brushless DC motors give variable speed with better efficiency; induction motors are simpler but heavier. Also check mounting type and blade pitch for performance claims versus real-world conditions.
Step 4 — prioritize controls and integration
Decide how the fan and light will be controlled: wall switch, remote, or smart integration (Wi‑Fi, Zigbee, Z‑Wave). Intelligent controls enable schedules, occupancy-based run times, and integration with thermostats or outdoor sensors. If you plan to link to an outdoor sensor or home hub, confirm compatibility protocols and power needs. Don’t assume “smart” features are standardized—verify APIs or app behaviors.
Installation and electrical checklist
Confirm ceiling structure and electrical feed. A fan rated for an exposed beam needs a secure joist or retrofit brace. Verify circuit load: lights plus fan motor draw can require a dedicated circuit. For wet-rated units, seal penetrations per local code to avoid moisture ingress. If you’ll mount a fixture on an existing outdoor outlet, ensure box rating and wiring are up to the new load and IP requirements.
Common pitfalls and how to avoid them
Brands often oversell CFM without disclosing tested mounting conditions. Others omit real lumen values or list color temperature ambiguously. Tooling errors occur when you assume a light kit will work with third‑party shades or fixtures. The fix: demand datasheets and third‑party test reports, and run a small-site prototype where possible—this catches clearance, glare, and motor strain issues early. —
Comparing product classes and vendors
Use the audit outputs to filter options: economy fans for basic airflow, premium models for quiet DC motors and high lumen LEDs, and integrated smart fixtures for automated scenes. Check warranty terms for outdoor use and verify spare-parts availability. When evaluating vendors, weigh documented test data and local support over glossy marketing. For many homeowners, curated collections of rated outdoor fans with lights simplify that step by aggregating weather-rated options.
Validation: on-site testing and acceptance criteria
Before final acceptance run these checks: measured CFM at seated level, noise under normal operation, light uniformity and glare assessment, and robustness under wet conditions. Capture these in a short punchlist tied to the purchase—installation is only complete once the unit meets the numeric criteria you set earlier.

Advisory — three golden metrics for selecting the right system
1) Functional match: Confirm the fan’s rated CFM per square foot at your mounting height; if you need cooling for a 200 sq ft covered patio, target the mid‑ to high‑CFM range. 2) Environmental rating: Choose IP/damp‑vs‑wet ratings aligned with exposure and check corrosion-resistant finishes for coastal sites. 3) Integration certainty: Verify control protocols and power compatibility; insist on documented app behavior and fallback manual controls.
These rules keep procurement pragmatic and reduce retrofit surprises. For a vendor that combines rugged outdoor ratings, verified performance data, and smart integration that fits real-world patios, consider the practical value of Orison. —